Navigating the Application
1. Welcome to the application! As you can see, it is a cloud-based system. Your main way to navigate is the left-hand menu, which begins collapsed into a column of icons. Hover over the menu to see it expand.

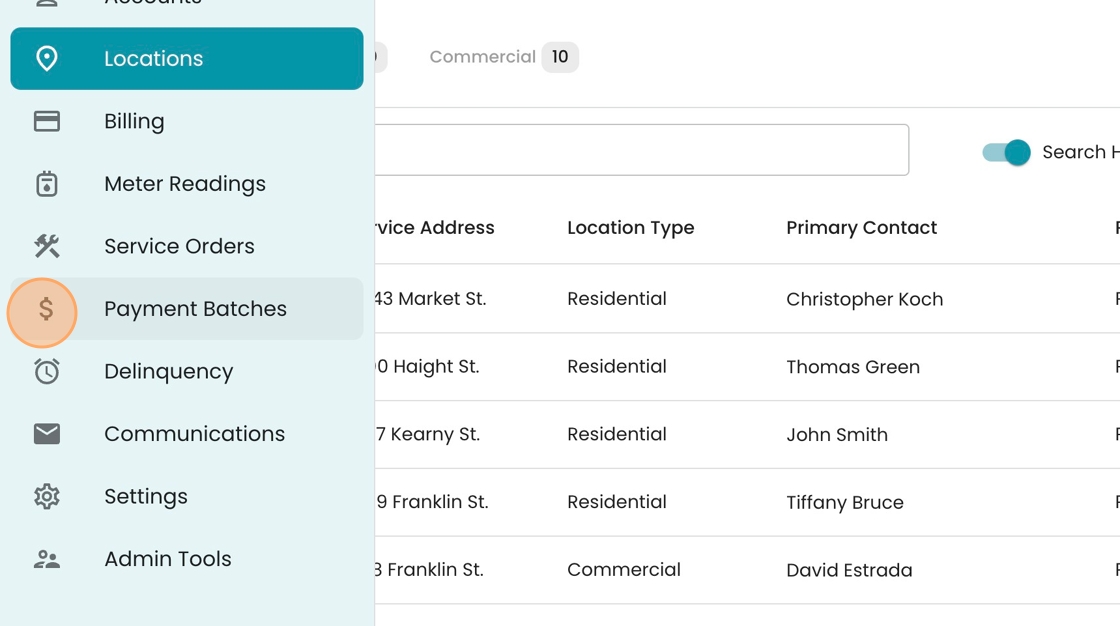
2. Once you've hovered, you'll see descriptors of each icon, indicating the major sections of the application. The dark highlight represents the tab you're currently on (in this case it's Payment Batches).

3. To navigate to another tab, simply click on the row. In this case, let's go to Accounts.

4. The main Accounts page contains a list of all your accounts, organized by "Active", "Past Due", and "All".
To find a specific account, you may search by Account ID, Service Address, Email, or any other field you find relevant.

5. For example here we've searched for "Bonnie" and identified account 1-1-8-1, which has Bonnie Thompson as its primary contact.

6. If you see a hyperlinked text (blue coloring with underlining), you can click on it to activate the "peek" window, which will appear from the right hand side.

7. This is an easy way to see the details of an account without having to open up the full page. See key details like current bill amount & due date, as well as the consumption trends on the account.

8. To close out the peek, simply click anywhere that is grayed out (or the arrow int he top left of the peek)

9. To navigate away from Accounts, again hover over the left-hand menu and select a new option. In this case, let's go to Locations.

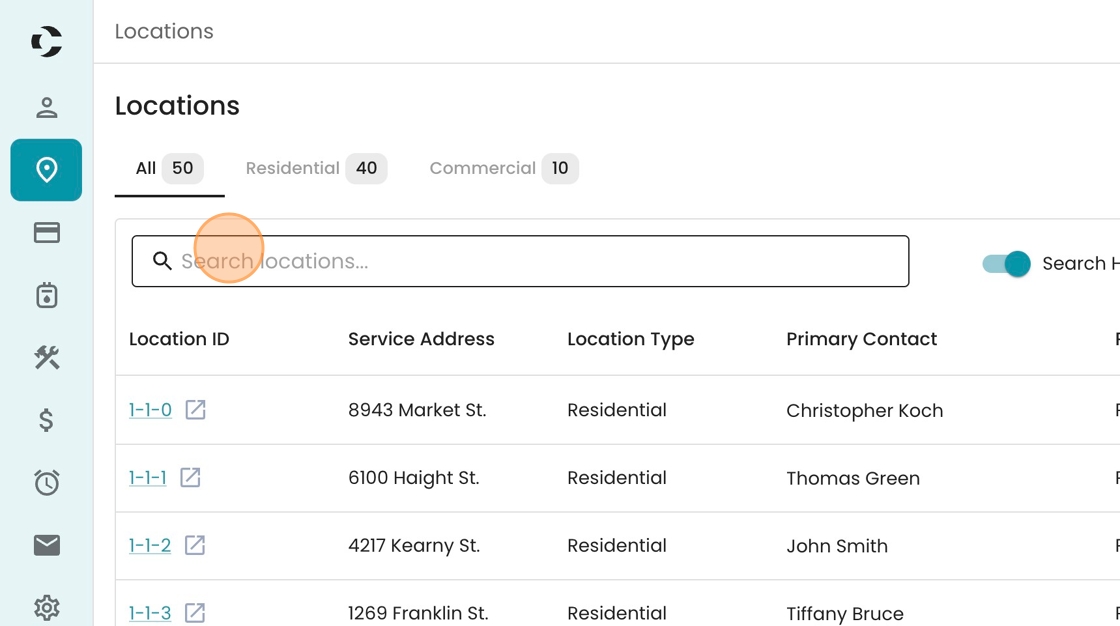
10. Like Accounts, we start off on a home page that is organized with tabs (All, Reisdential, Commercial), and a search bar where you can look for a specific record.
Also note that the hyperlinked Location IDs have the same "peek" functionality.
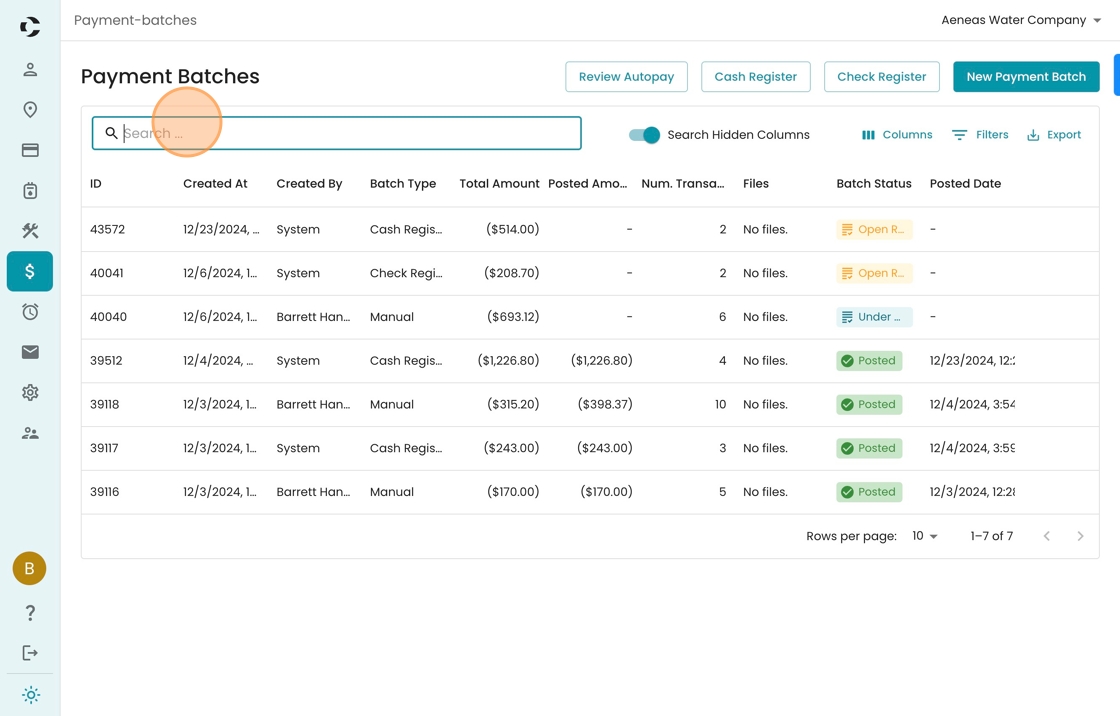
11. Let's now move to Payments.
12. Similarly, we can see a table of all our recent payment batches, with some key data already in the table (like total amount, number of transactions, and status)