Add New Account Information and Complete Account Transfer
1. Navigate to an account going through a move-out. You'll notice the banner at the top of the page indicating that this account is in transition.

2. We also can see that this account has had a final bill sent out since we are still awaiting final payment.

3. To re-enter the move-out checklist, click "Go to move-out"

4. Navigate to "New Account"

5. The Account ID automatically increments 1 unit from the last account, but you can overwrite this.
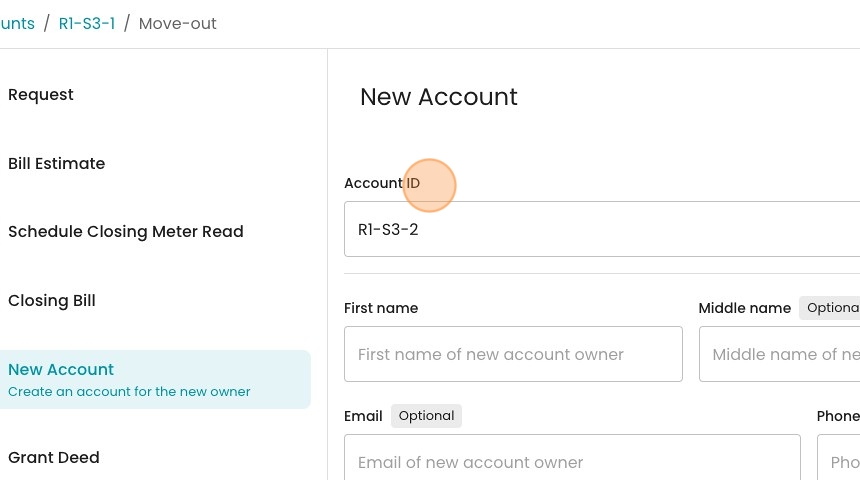
6. Fill out the contact information of the new owner.
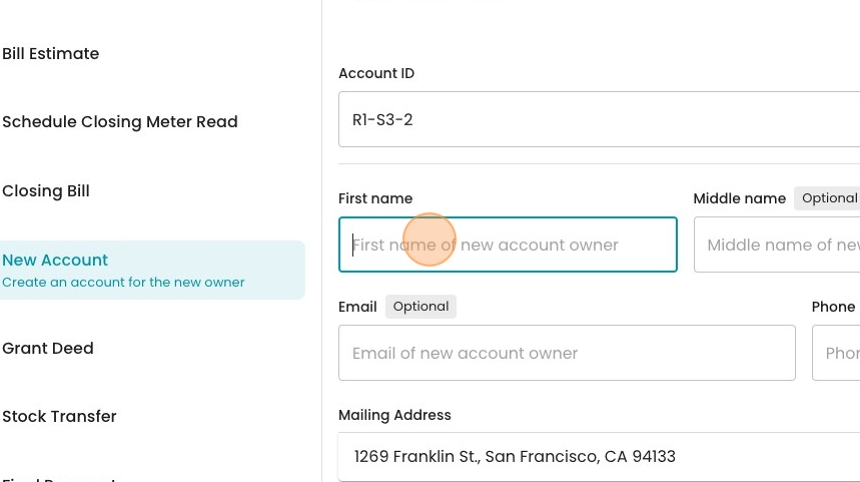
7. Click "Save"

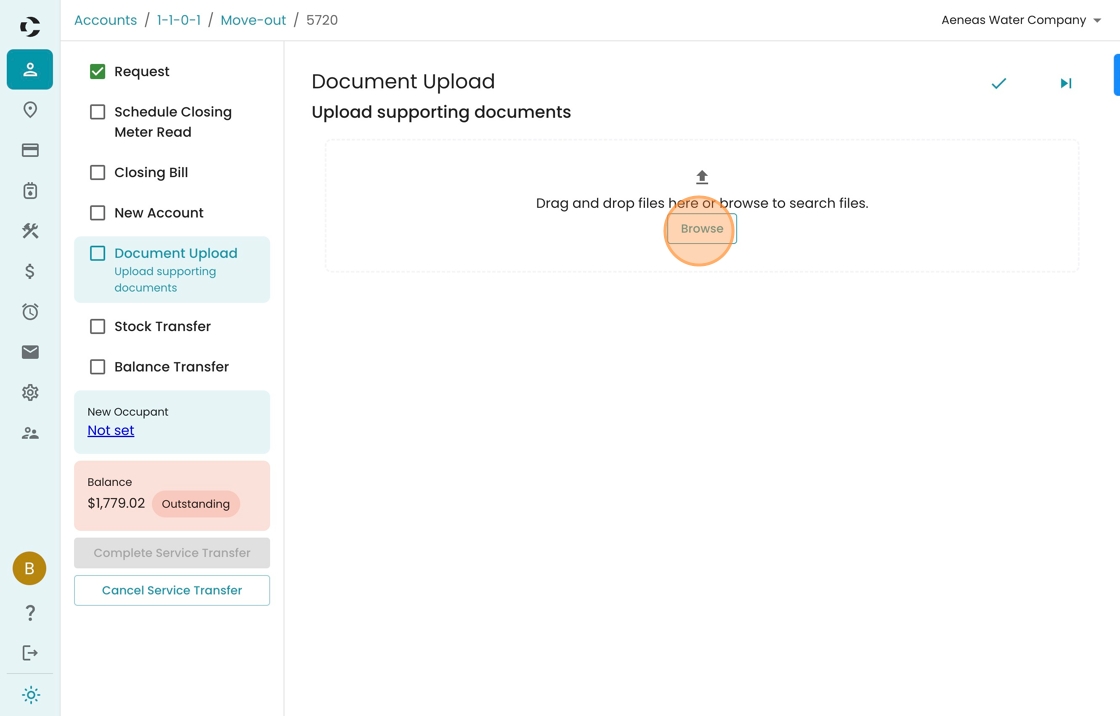
8. Now we have several optional steps for documentation. Click "Document Upload"

9. You may either drag & drop a file into the outlined area, or click "Browse" to select a file from you computer.
10. The next step is "Stock Transfer", which applies to mutual companies. You can skip this otherwise.

11. The assumption is that all shares will be transferred to the new owner, but if there's a policy for sellers to maintain some shares, you can adjust the transfer here.
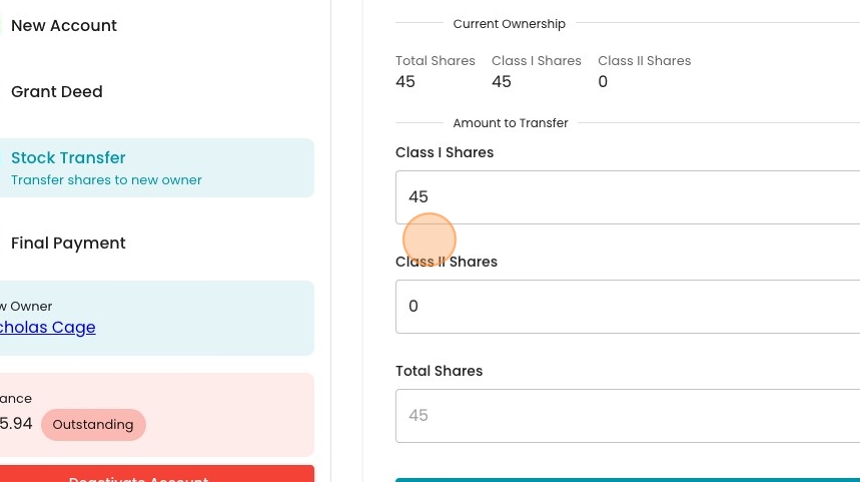
12. Click "Transfer" to process the transfer.

13. Optionally, if there is a stock certificate that you want to store digitally, you can upload it here.

14. The final step is about taking the final payment,

15. Here we can see the seller has a $45.94 balance.

16. When a customer has a balance, we can elect to wait until that comes in. If we need to process the move-out immediately, we can choose to transfer the balance to the next owner, or ignore it entirely.

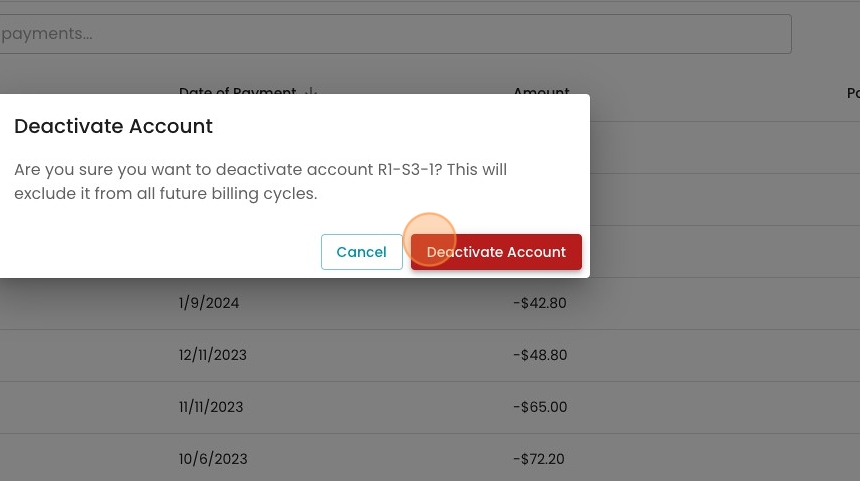
17. When you're ready for the new owner to begin being billed, you can deactivate Account.

18. Click "Deactivate Account" to confirm.
19. To see the impact of deactivating the old account, click "R1-S3-1"

20. Click "1269 Franklin St." to see the location (note that Tiffany is now "inactive")

21. See how our new account is now the primary one listed at this location.
