Add a New Contact to an Account
This guide provides step-by-step instructions on how to add a new contact to an account. It covers everything from entering the contact's name and role to adding their phone number and email address. It also explains how to specify if the contact should receive the account's bill and how to edit their billing and mailing addresses. By following these steps, users can easily add a new contact to their account and see the contact listed in the "Contacts" table.
1. Click "Accounts" from the left-hand menu.

2. Identify the right account, and click the right arrow icon to enter its detail page.

3. Click "Contact Information".

4. To add a new contact, click "New Contact"

5. Enter the new contact's name here.

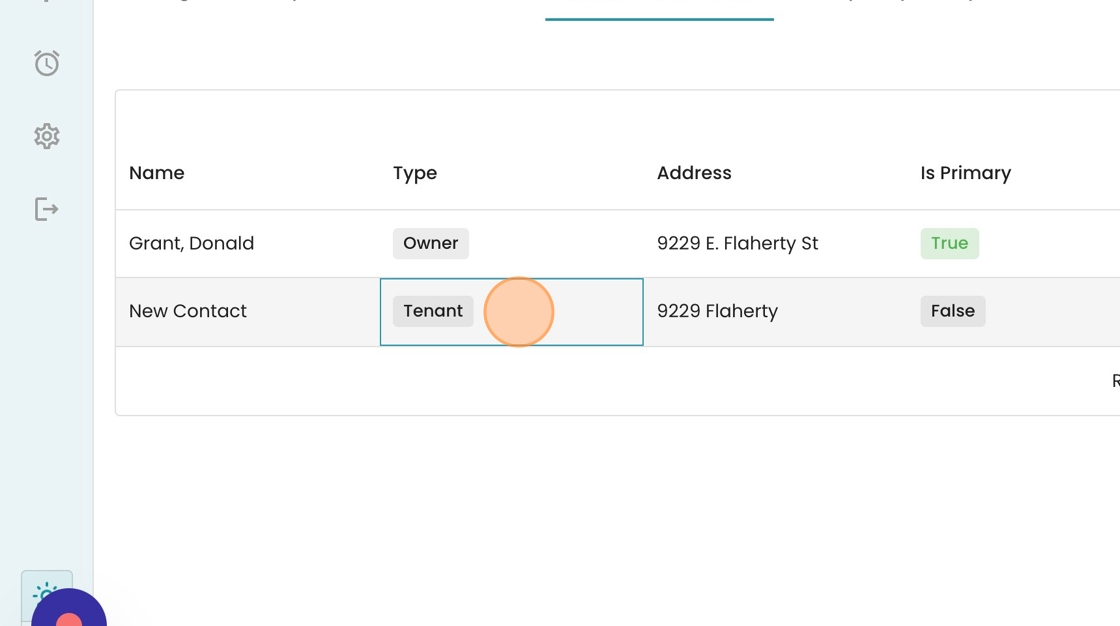
6. Select the contact's role from the "type" dropdown.

7. Add the contact's phone number and email address (optional) here.

8. If you expect the owner to continue paying the bill, mark the tenant as not the primary contact on the account by clicking "False".

9. Determine this new contact should receive a copy of this account's bill by selecting "True" or "False" here.

10. To edit this contact's Billing Address, click this pencil icon.

11. To edit this contact's Mailing Address, click this pencil icon.

12. Click "Save" to add the new contact to the account.

13. Now see that the new contact has been added to the "Contacts" table.