Create a new location
Learn how to add a new location to your system. This guide will walk you through the steps of entering the location information to ensure accurate record-keeping, as well as modifying the location as needed, and automatic route sequence updates.
1. From the home screen, click "Locations" on the left menu panel
2. Click "+Location" in the top right to add a new service location

3.Select if you want to add a location normally or quick add a location
Quick Add a Location and Account is useful if you have all the information and want to enter it all and prompt the system to fill it out for you. See Help doc Here

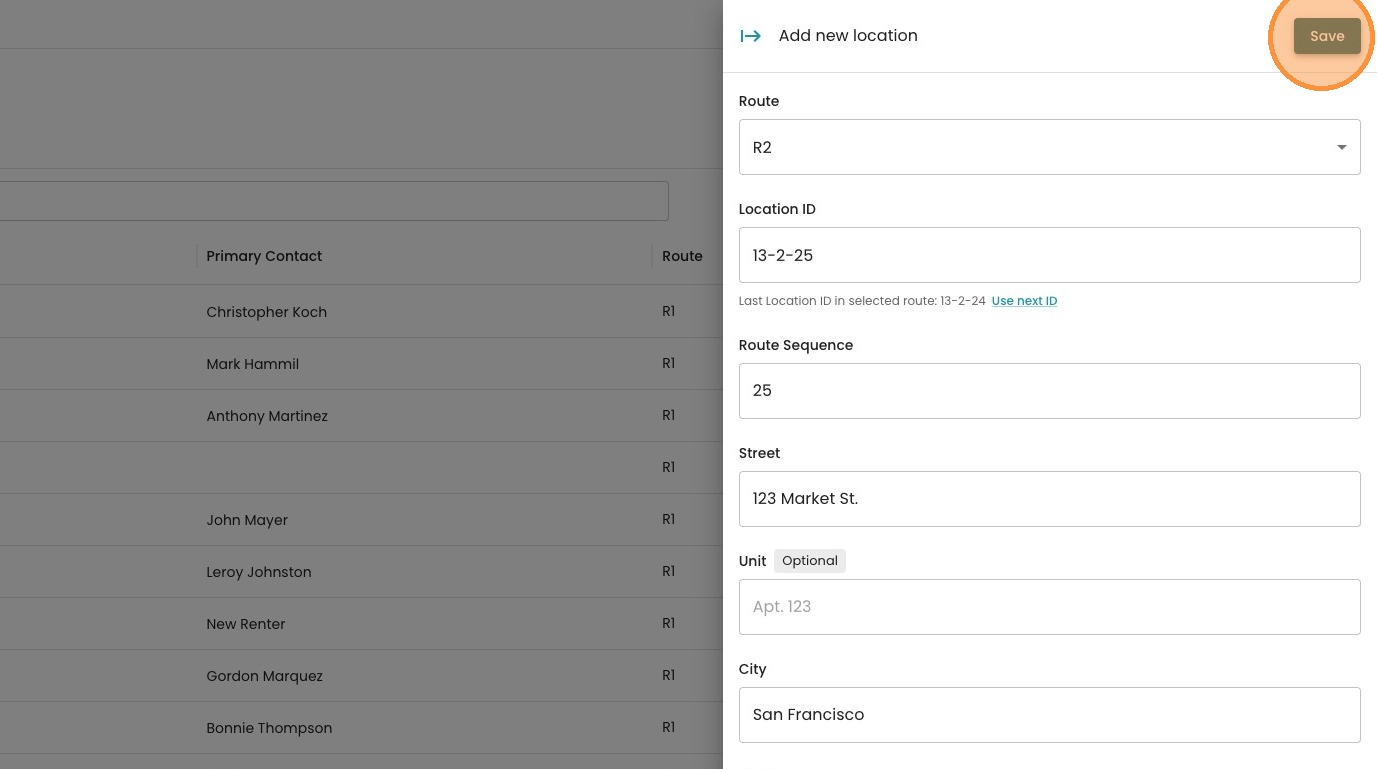
If Add Location is selected, go through the steps to choose the route.
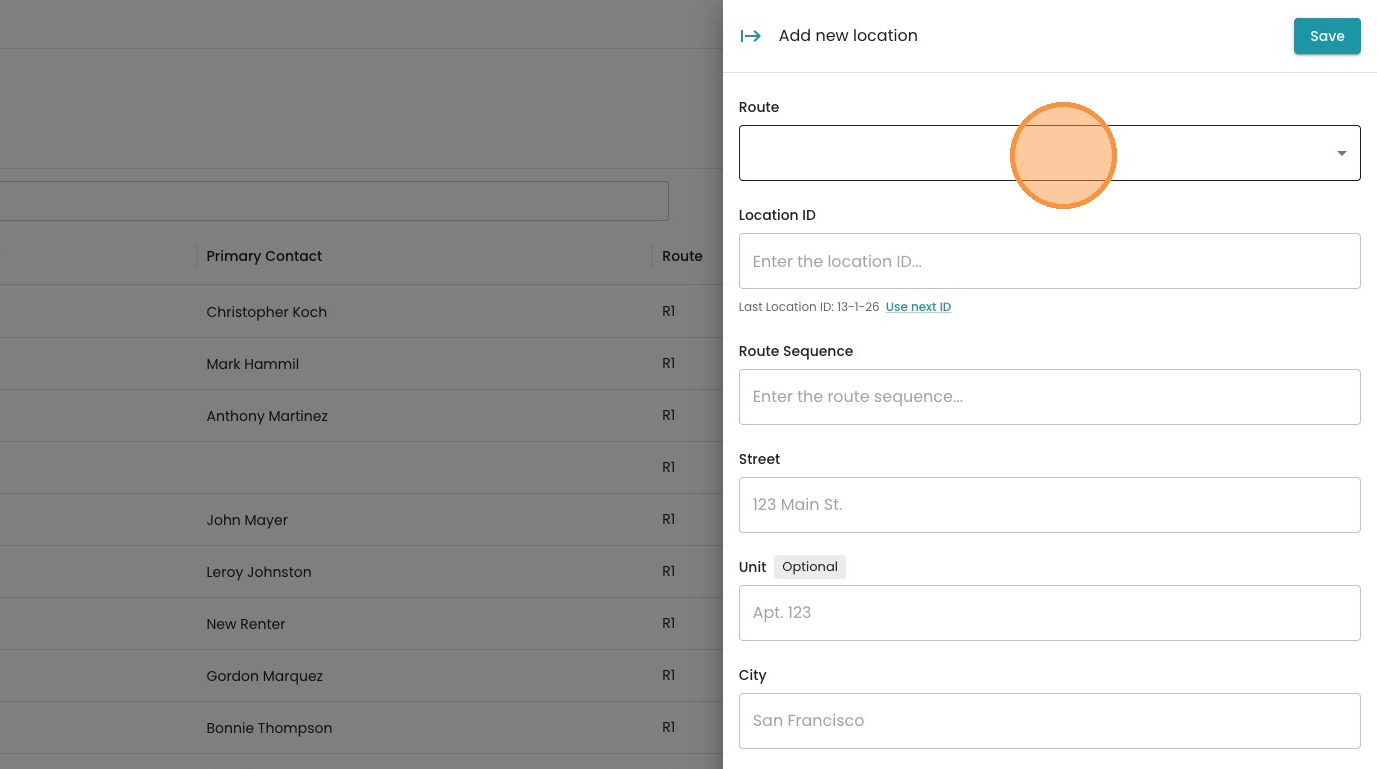
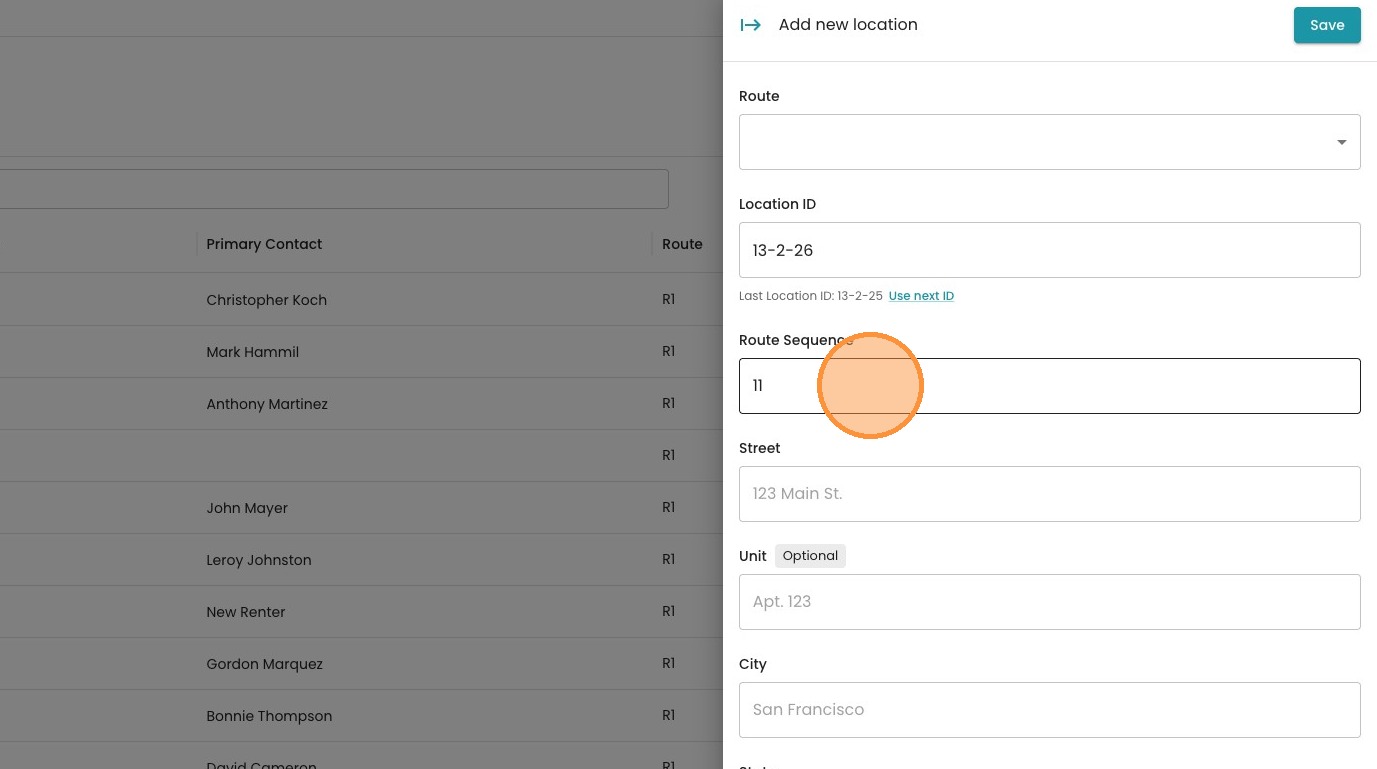
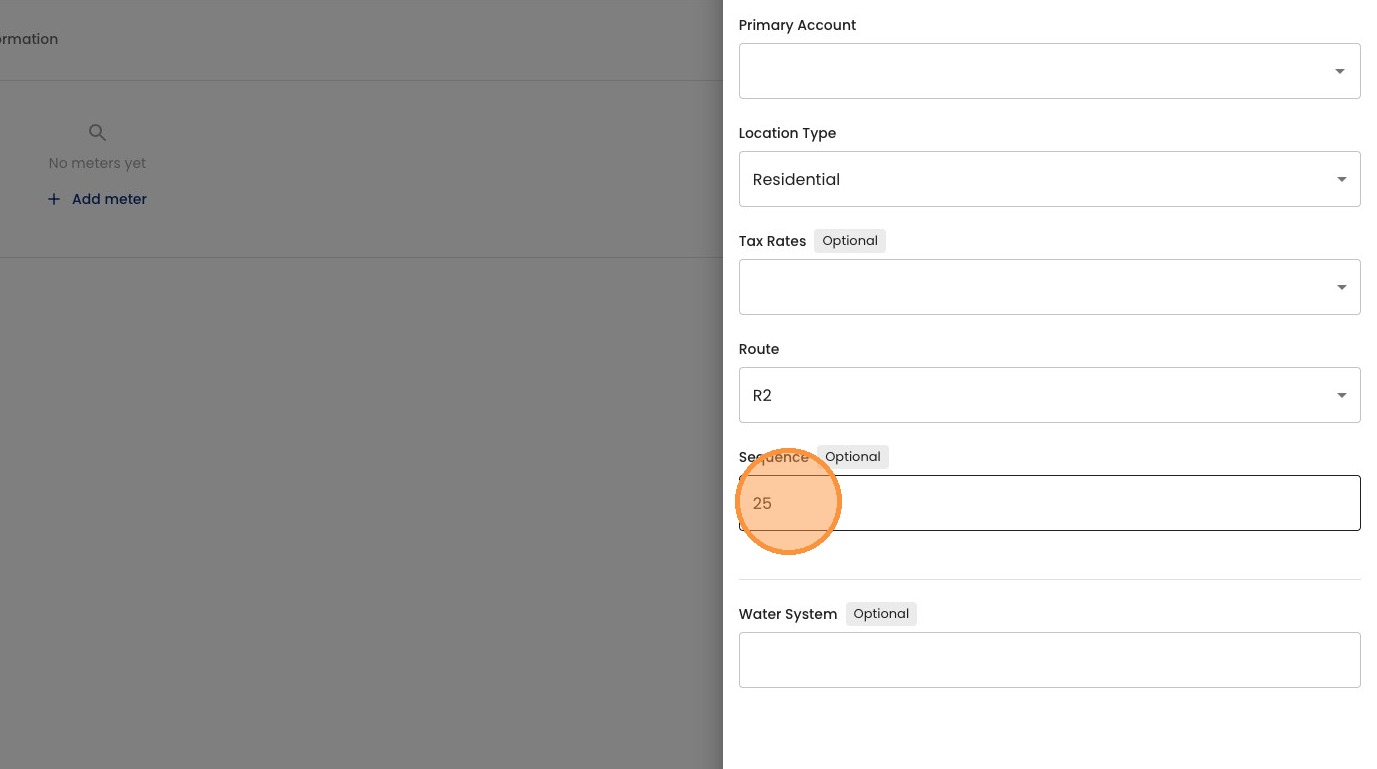
Enter the Location ID, either manually or click "Use next ID" to generate a Location ID based off of the last ID entered
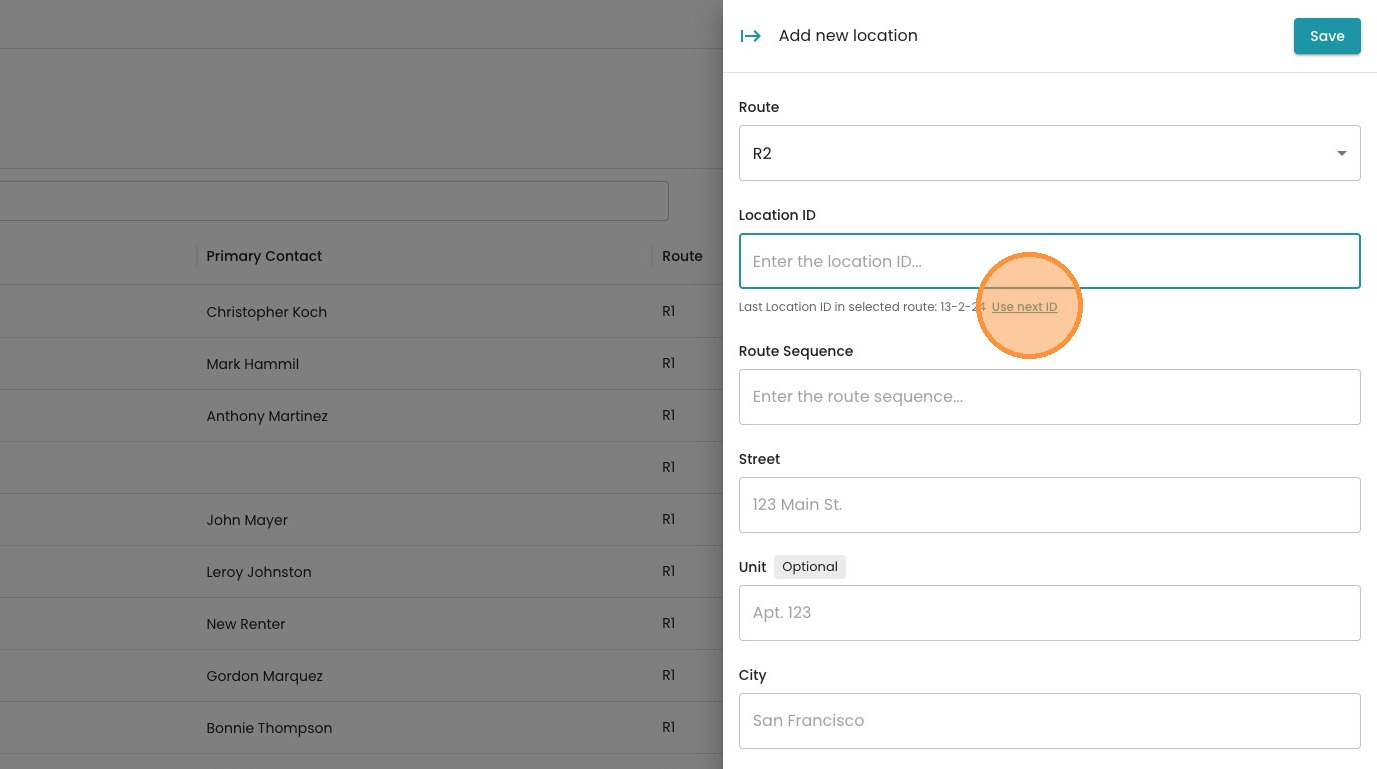
Once a Location ID is entered, the system will auto-populate the next available sequence in the specified route. You can leave that as is, or you can change the route sequence for this location.
Note: If you move a new location into an existing spot, the system will automatically resequence, or 'bump', the following locations down by one. This ensures your route stays in order without any skips or duplicate numbers.
Enter the location address

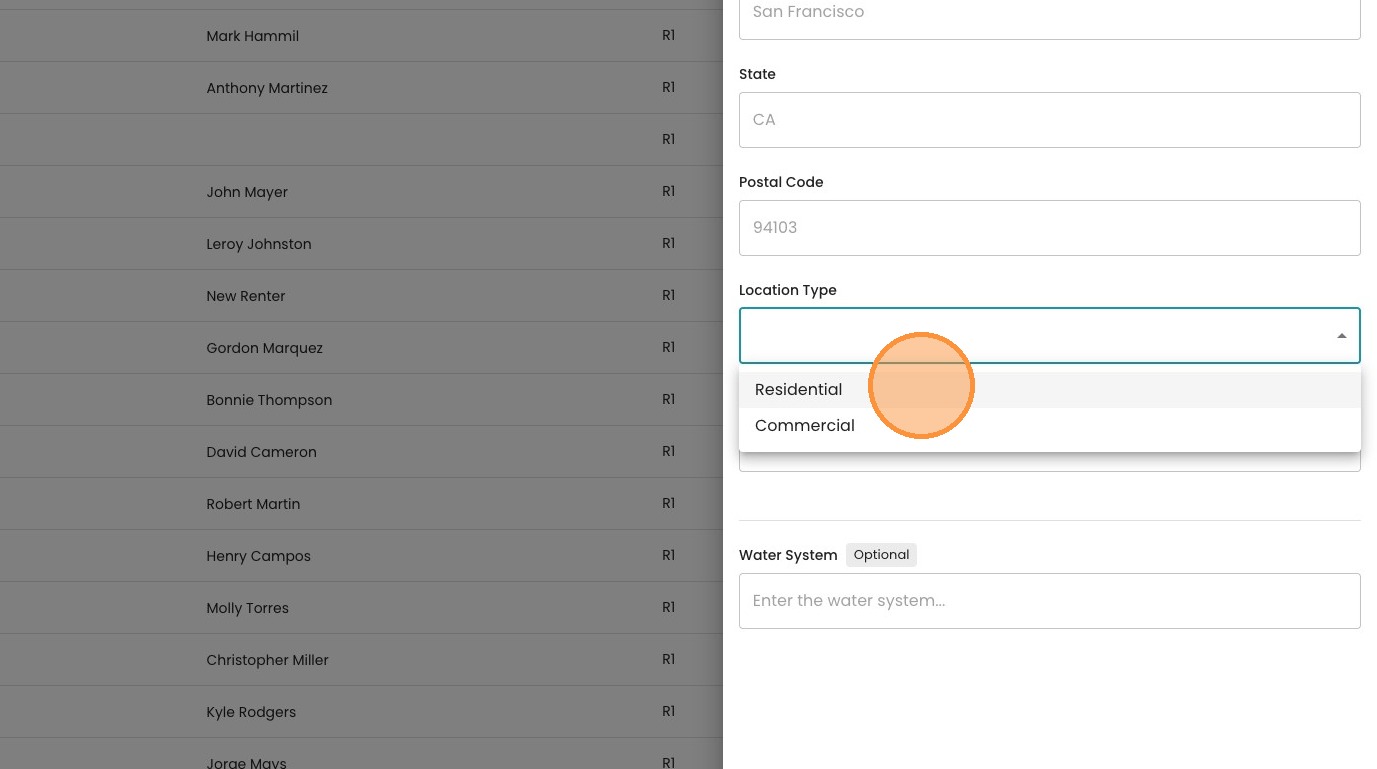
Select the location type
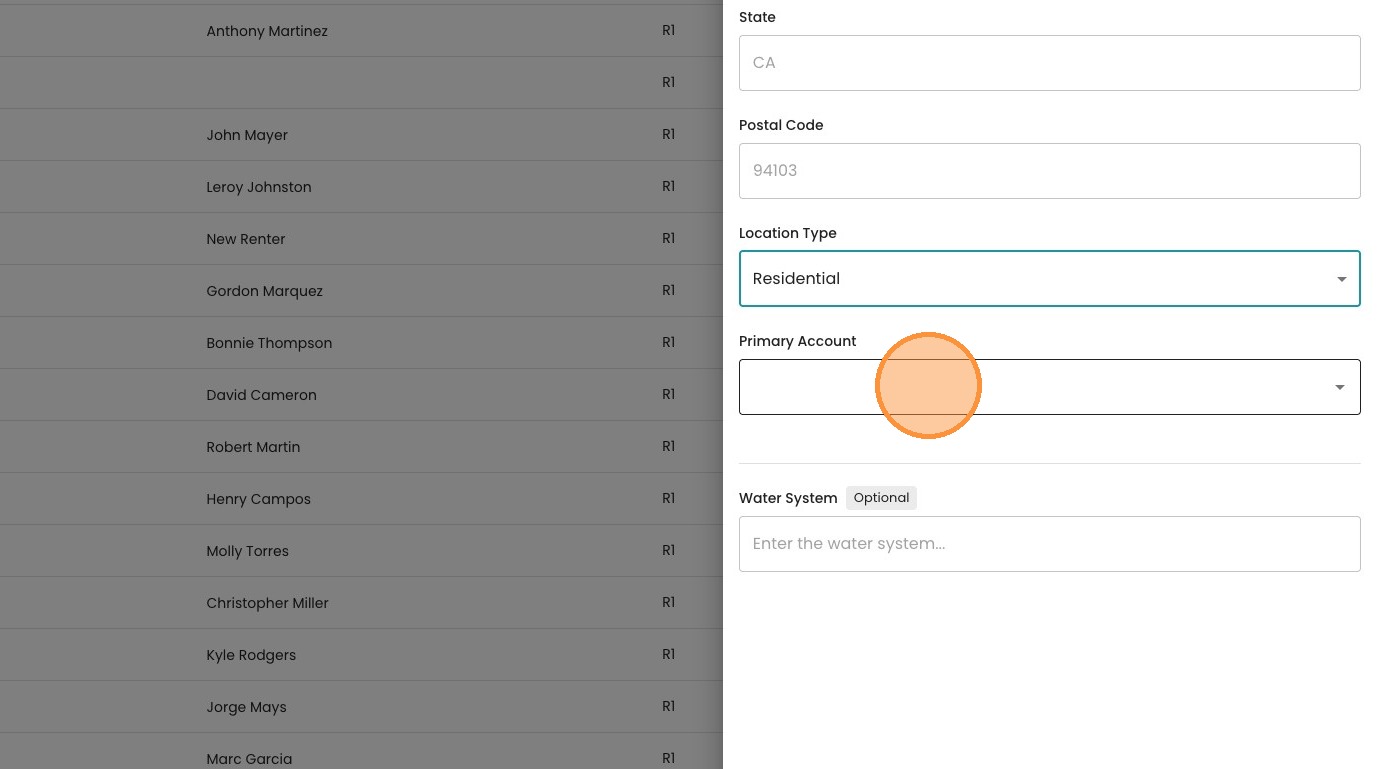
Select a primary account if available (this can be done later).
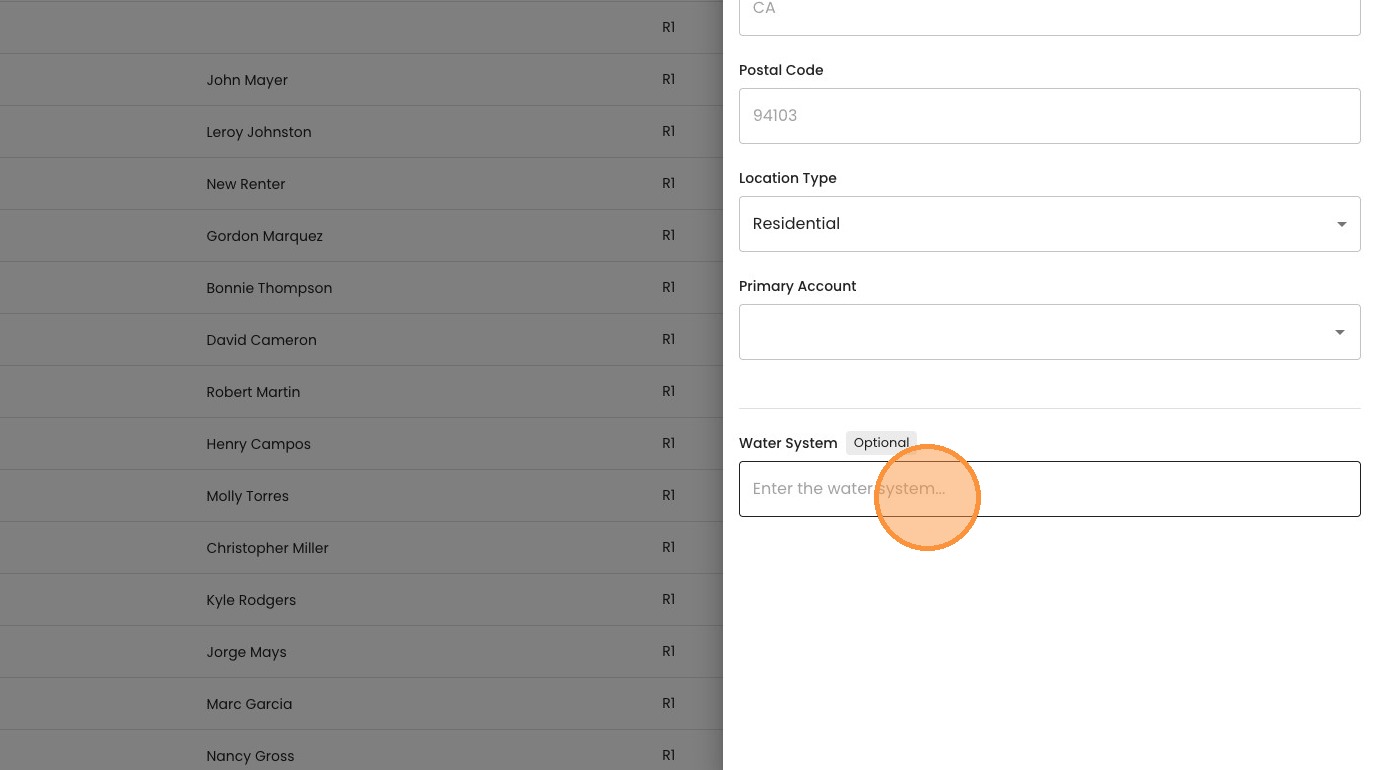
Enter the water system if available (this can be done later)
Once you have entered in all the information, select "Save"
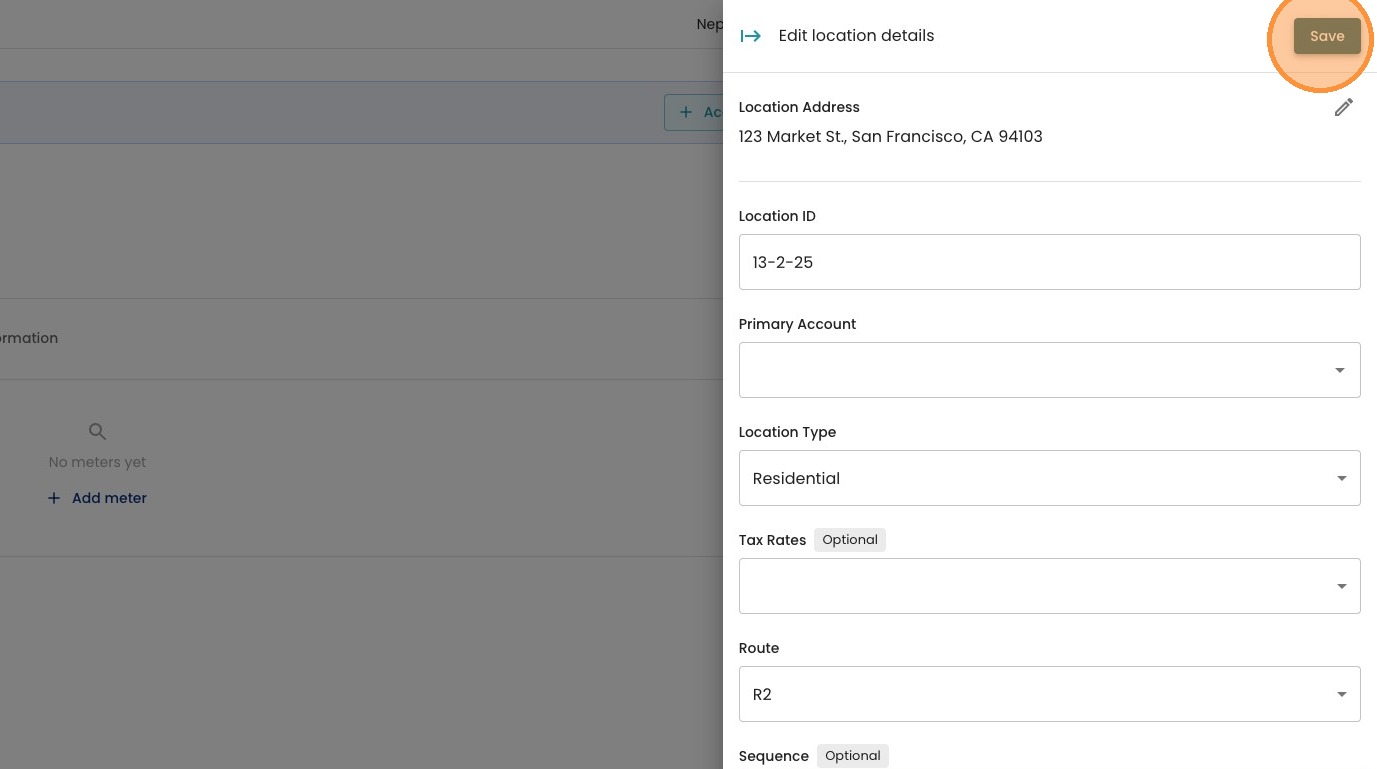
Once the location is added, it can be easily modified by opening the location, and clicking the pencil icon to edit.

All information can be modified, including the route sequence. Once again, if one location is moved in the sequence, the system will automatically adjust any other locations to ensure the route is in order.
Be sure to save any changes made before exiting the screen.